 |
!! Please select country!!
Created: 12 Aug 2010
Last Updated: 22 Sep 2013
|
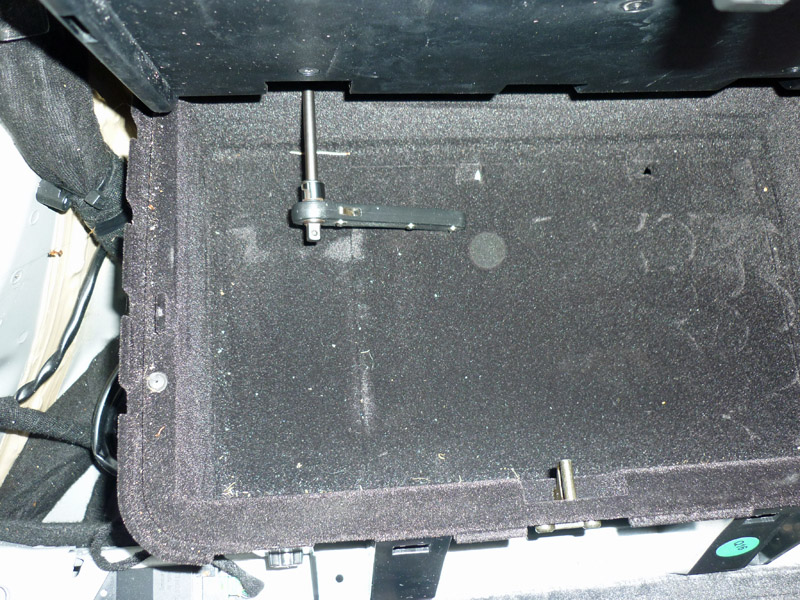
The rear panel is held in with 4 screws but it is also hooked into the back of the two stowage compartments which must therefore be loosened first. There are 2 screws on the left and two on the right which are visible after the side panels are removed. Note that the top screw is a screw and the lower one is actually a bolt. Remove all of these. Now remove the two bolts at the front of each stowage compartment. And loosen the two bolts at the top back of each stowage compartment accessed via the two small holes in each compartment - only loosen a few turns as the compartment is hooked over them. A long TX30 screwdrive is needed for this:
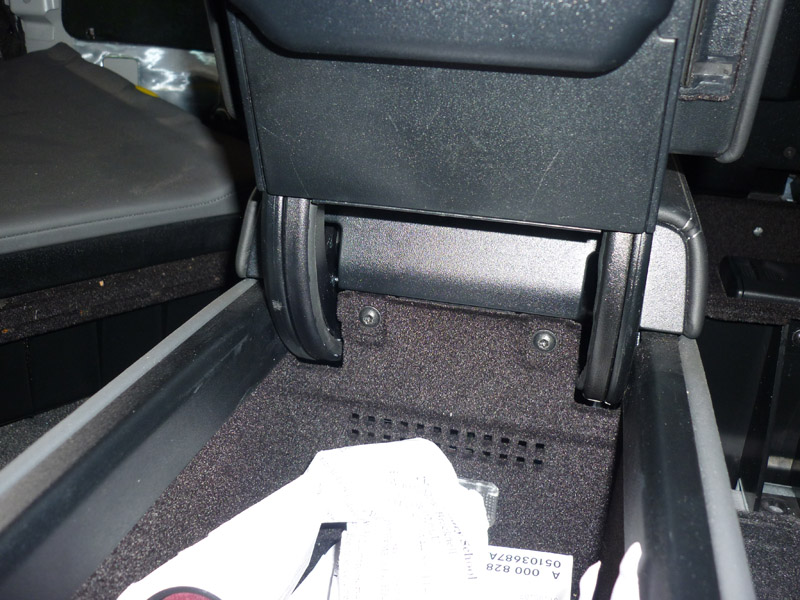
Now remove the rear armrest. This is done by undoing the two screws that are visible in the rear of the armrest-glovebox and then pulling the rear armrest upwards. Picture of the screws in the armrest-glovebox: -
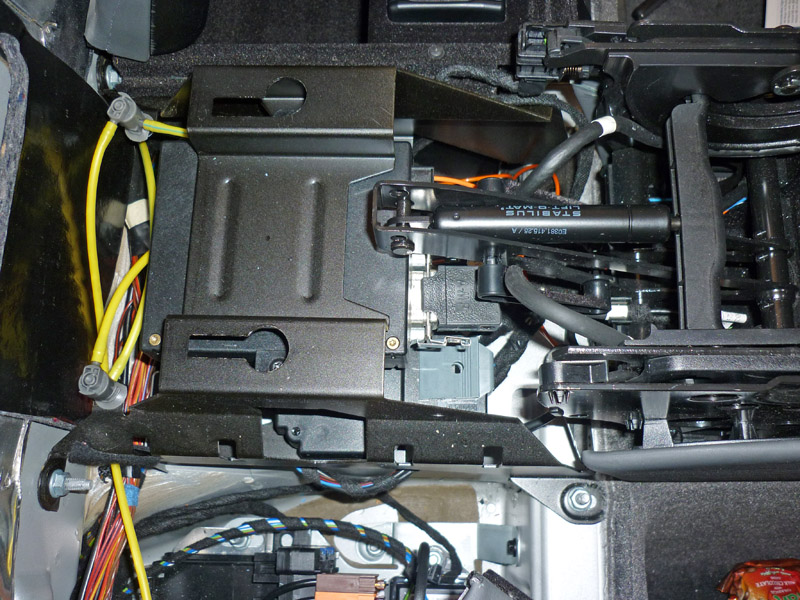
After the rear armrest is removed you can see the equipment carrier underneath it. The picture below is from a MY2004 vehicle.
Re-assembly is the reverse of dis-assembly. |
If you found this information useful, please support the site by making a donation via Paypal. Any amount at all helps me improve the information on the site. |
Comand Online Ltd - the place to buy Mercedes iPod kits, phone kits, retrofit parts & map disks MY AUTOCAR - THE BEST PLACE TO TALK CARS |


